Let’s look at how to export the contents of a Microsoft 365 (Exchange Online) user’s mailbox to a PST file.
How to Export Microsoft 365 Mailbox to PST Using Outlook?
Users can export their mailboxes to PST files themselves using an Outlook client connected to their Microsoft 365 account.
- Open your Outlook client and select File -> Open -> Import/Export;
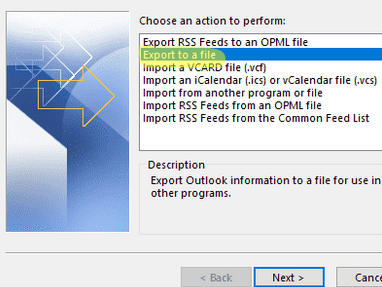
- Click Export to a file in the actions list;

- Select an export format: Outlook Data File (.pst);
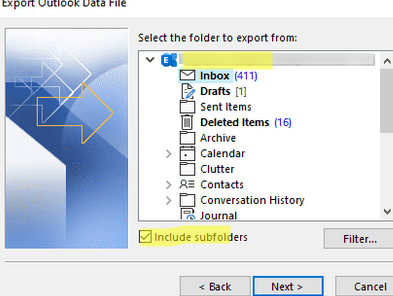
- Then select the folders you want to export from your mailbox to a PST file. In order to export the entire contents of the mailbox, select its root, and check the Include subfolders option;
- Specify a path to the local PST file you want to export your mailbox content to;
- You can also set a password to protect the PST file.
Wait for the mailbox export operation to complete.
Exporting Mailbox to PST with Microsoft 365 Compliance Center
A Microsoft 365 (Exchange Online) tenant administrator can export any user mailbox to a PST file. Note that you cannot use the New-MailboxExportRequest cmdlet (available only in the on-premises Exchange Server) to export mailboxes from Exchange Online. The mailbox export feature is available in the graphic eDiscovery Export Tool .
First, assign the eDiscovery Manager role to the account you will use to export:
- Sign in to Microsoft 365 compliance center (https://compliance.microsoft.com/);
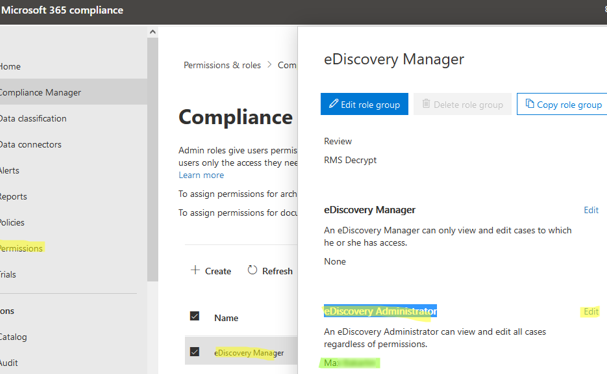
- Go to Permissions, expand Compliance center, and select Roles;
- Find the eDiscovery Manager role;
- Add your account to eDiscovery Administrator;This role is also required to search and delete e-mail messages in Exchange Online mailboxes.
In addition, you can view and assign roles using PowerShell. Connect to your Microsoft 365 tenant using the Exchange Online PowerShell v2 (EXO V2) module:
Connect-ExchangeOnline
Display a list of users with the Discovery Management role assigned:
Get-ManagementRoleAssignment -Role 'Mailbox Search' -GetEffectiveUsers| where {$_.name -eq "Mailbox Search-Discovery Management"}
To assign the role to a new user, run the command below:
Add-RoleGroupMember 'Discovery Management' -member [email protected]
Then create the Content Search task that will collect the user’s e-mail items.
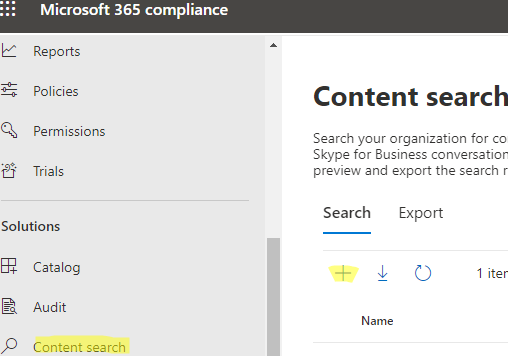
- Open Microsoft 365 Compliance Center -> Solutions -> Content Search -> New Search;
- Enter the task name;
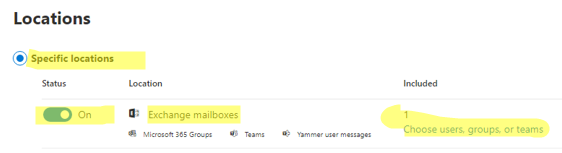
- Select Exchange Mailboxes in the Specific locations section and click Choose users, groups, or Teams;
- Select the mailboxes you want to export (you may export all mailboxes at once);
- In the next step, you may add extra selection criteria. In our case, we skipped this step.
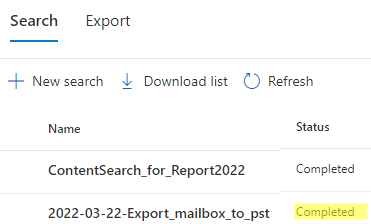
Wait till the task status changes to Completed.
Now you can export search results to a PST file using the eDiscovery Export Tool. This tool is available as an extension for the Microsoft Edge browser (you may use Meta4 ClickOnce in Chrome and Breez ClickOnce in Firefox).
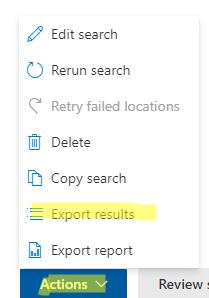
- Open the search results and click Actions -> Export results;
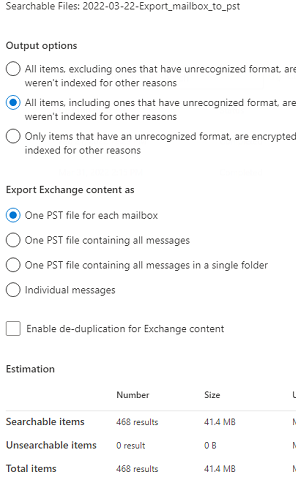
- Select the following export options:
Output Options: All items, including ones that have unrecognized format
Export Exchange Content as: One PST file for each Mailbox - Click Export;
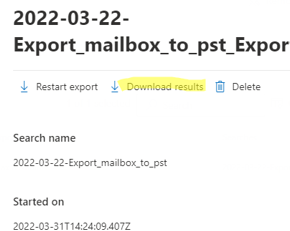
- Go to the Export tab in the Content search and click export results;
- Click the Download results button;

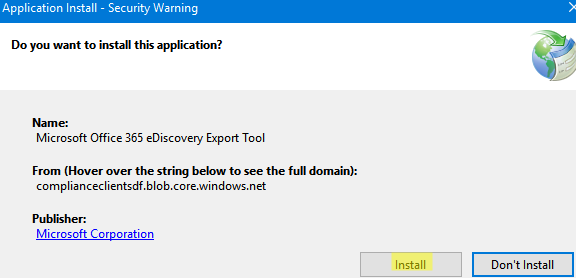
- Confirm Microsoft Office 365 eDiscovery Export Tool installation;
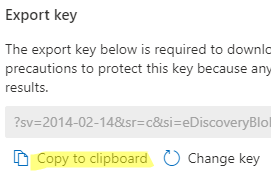
- Copy the export key from the Compliance Search window;
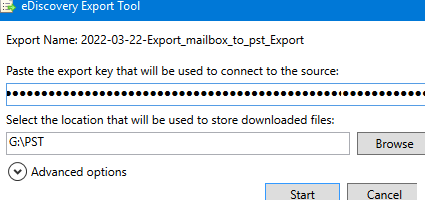
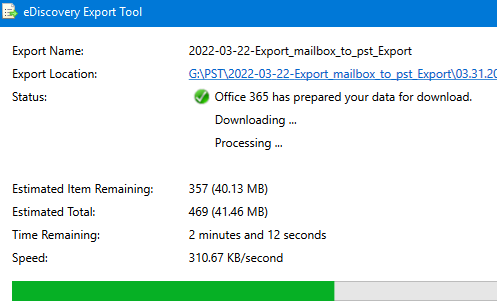
- Paste the key to the eDiscovery Export Tool prompt and specify a path to the local directory you want to save PST files to. Click Start;
- Wait for the utility to download PST files from Microsoft 365.

Note that the maximum size of PST files created by the eDiscovery Export Tool is 10 GB by default. If a mailbox size exceeds 10 GB, you will get several PST files. As you know, it is not recommended to make PST files too large. This increases the risk of damage.
You may increase or reduce the size of PST files generated by the eDiscovery Export Tool through the registry.
The following REG file will reduce the max size of the exported PST file to 8 GB:
Windows Registry Editor Version 5.00
[HKEY_LOCAL_MACHINE\SOFTWARE\Microsoft\Exchange\Client\eDiscovery\ExportTool]
"PstSizeLimitInBytes"="8589934592"
Restart the eDiscovery Export Tool to apply new settings.
Export Exchange Online Mailbox to PST with PowerShell
You can create a search and export task using PowerShell. Connect to M365 Security & Compliance Center:
Connect-IPPSSession
Create a search task:
New-ComplianceSearch -Name "2022-22-11_export_pst" -ExchangeLocation [email protected] | Start-ComplianceSearch
To export data you have found:
New-ComplianceSearchAction 2022-22-11_export_pst -Export -Format Fxstream

Wait until the task changes to the Completed status:
Get-ComplianceSearchAction|where {$_.name -eq "2022-22-11_export_pst"}
To get the URL where you can download the PST file (Container URL) and an access key (SAS token), run the command below:
Get-ComplianceSearchAction -IncludeCredential | where {$_.name -eq "2022-22-11_export_pst"}|fl

1 comment
FYI,
the powershell method does not work